How to Access & Use Your Trip.com E-Ticket

By Trip.com
June 16, 2026
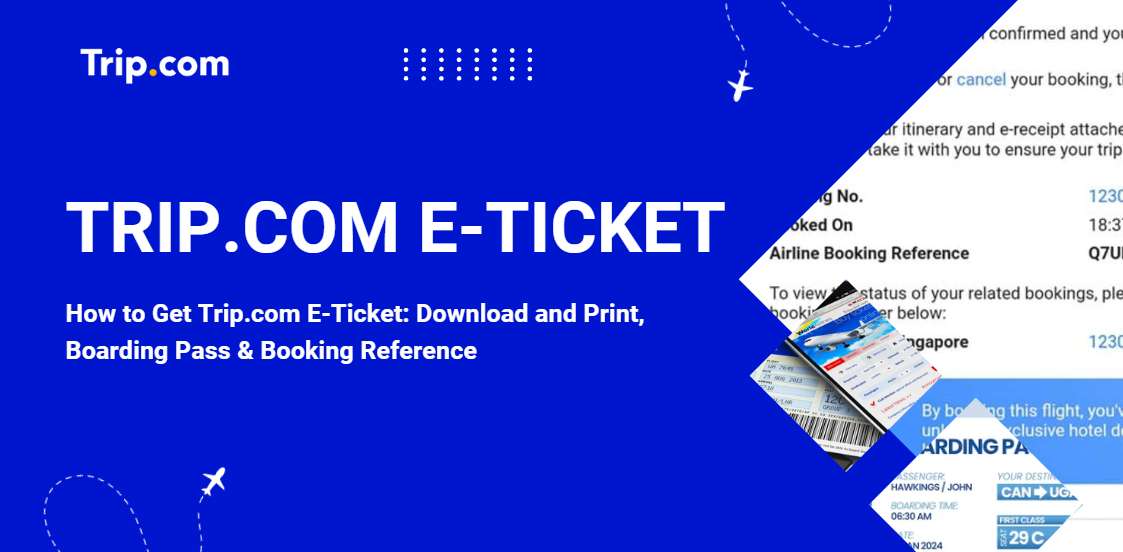
Explore everything you need to know about Trip.com e-tickets for flights and trains. Read to understand what an e-ticket is, how to obtain it, and the steps for printing it. This guide covers all aspects to ensure a smooth travel experience.👇
Bangkok
Singapore
Shanghai
Tokyo
Seoul
New York
See all flights
What Is a Trip.com E-Ticket and Why Does It Matter?
A Trip.com e-ticket is a digital confirmation of your travel reservation (flights, trains, etc.), issued by the airline, hotel, or corresponding operator and stored in their official system.
It contains authoritative details such as:
- your booking reference
- travel details (e.g., flight number, departure time)
- passenger information
- ticket number
- fare and tax details
- carriage terms and conditions
When you book a flight on Trip.com, the e-ticket acts as a contract between you and the service operator. Your ticket information is securely stored and can be accessed using your PNR (Passenger Name Record) or booking reference number. This means you can check in and pass through security with just your passport, making the boarding process simpler.
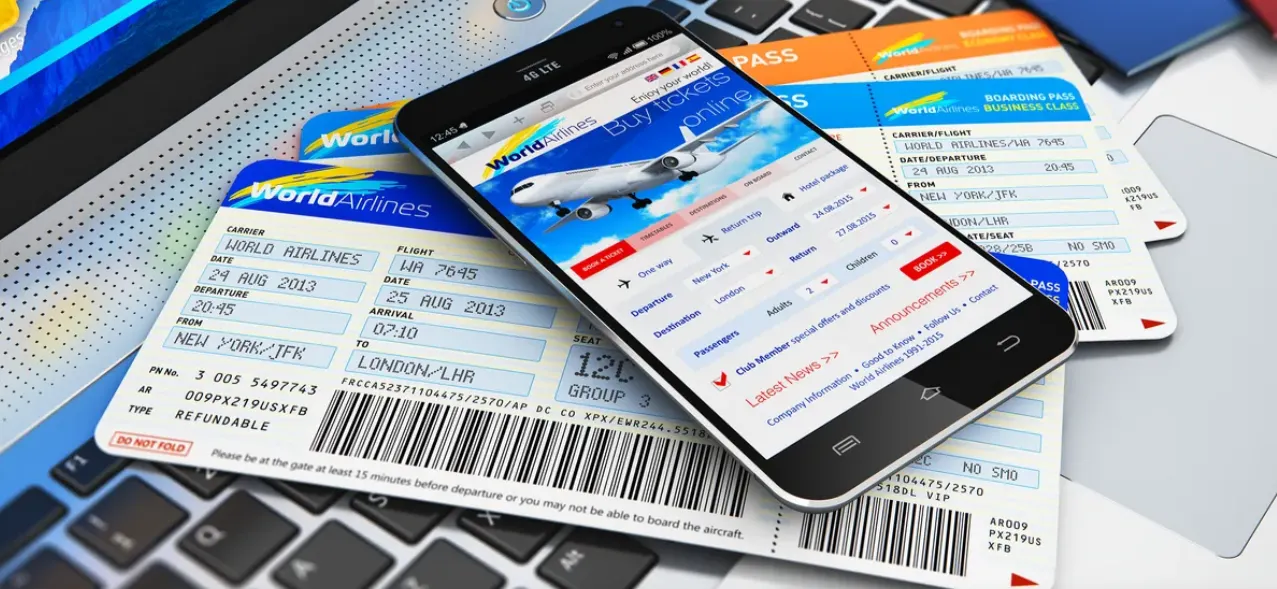
Trip.com E-Ticket vs. Boarding Pass: Understanding the Difference
Many Canadian travellers confuse e-tickets with boarding passes, which is a common misunderstanding. The distinction can be summarized as: an e-ticket is a booking receipt and official confirmation, while a boarding pass is the entry ticket for the plane.
Comparison Item | Trip.com E-Ticket | Boarding Pass |
|---|---|---|
Issuing Party | Issued by the airline or relevant operator; Trip.com does not issue e-tickets directly. | Issued solely by the airline, not by Trip.com. |
Issuing Time | Automatically generated after booking completion and payment confirmation. | Issued during check-in (either online or at the airport). |
Core Purpose | Proof of purchase and booking confirmation for travel services. | Mandatory document required for boarding the flight. |
Summary | Acts as a booking receipt and official confirmation of the reservation. | Serves as the entry ticket for boarding the plane. |
Stay Connected With Trip.com!
See all attractions
 579641 booked


How to Get Your Trip.com E-Ticket and Boarding Pass
After booking a flight on Trip.com, you’ll need your e-ticket and boarding pass to travel. Here’s how to get them:
How to Get Trip.com E-Ticket
The e-ticket is a confirmation of your booking. It’s your proof of purchase and contains all the essential details about your flight.
Once your booking on Trip.com is confirmed, you can access your e-ticket (issued by the airline) through several options:
Method | How to Get It |
|---|---|
Email Confirmation | Check your email for a confirmation message from Trip.com. This email includes a link to view or download your e-ticket. |
| |
Customer Support | If you can’t locate your e-ticket, contact Trip.com support. They can verify your booking and guide you on retrieving it. |
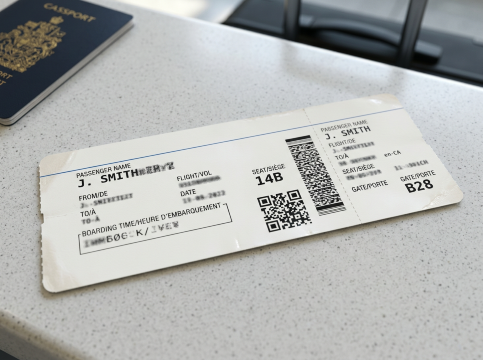
How to Get Your Boarding Pass
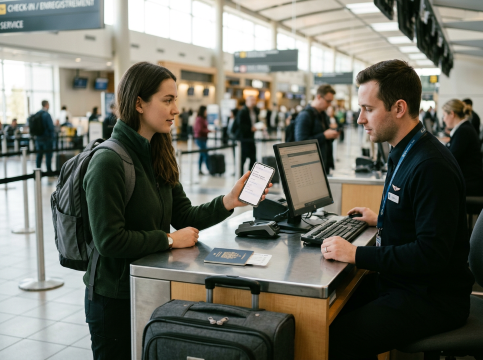
To board the aircraft, you'll need to show a boarding pass, which you can only obtain after finishing check‑in—either online or at the airport. This document is issued directly by the airline, not by Trip.com. For travellers flying within, to, or from Canada, your boarding pass will generally be available through two main methods.
Method | How to Get It |
|---|---|
Online Check-In | Visit the airline’s website or app, enter your booking number or e-ticket details, and check in online. You can then download or print the boarding pass. |
At the Airport | Show your e-ticket and ID at the airline’s counter or use a self-service machine to print your boarding pass. |
Tips for Boarding Passes:
- Online check-in is usually available 24–48 hours before departure.
- Some airlines may not support mobile boarding passes at all airports, so check before traveling.
Although Trip.com provides your e-ticket, the actual boarding pass is issued by the airline. Trip.com simplifies this process by ensuring that your e-ticket includes all the details needed to complete check-in, whether online or at the airport. Additionally, Trip.com often includes links to the airline’s check-in page in your booking confirmation email, making the process much easier.
Using Your Trip.com E-Ticket at the Airport and Beyond
Using a Trip.com e-ticket at the airport is simple. During check-in (online or at the airline’s counter), travellers should present their e-ticket (digital or printed) and a valid government-issued ID (e.g., a Canadian passport). Airline staff will verify the booking using the e-ticket number and issue a boarding pass. Some airports may require a printed e-ticket for terminal entry, so keeping one handy is wise.
For hotels or tours, the e-ticket can be shown to staff upon arrival to confirm the reservation, with no additional steps required.
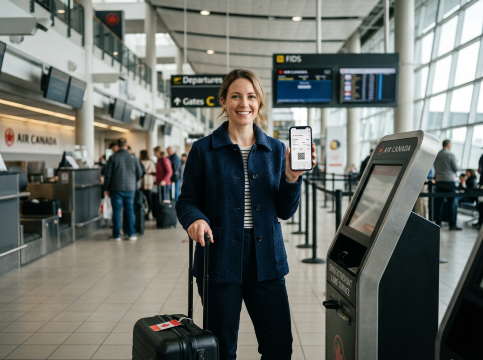
Online Check-In Using Your Trip.com Flight Booking Details
Travellers can use the PNR from their Trip.com e-ticket to complete online check-in with the operating airline, and key details about this process are listed below:
- Check-In Credential: The PNR (Passenger Name Record) from the Trip.com e-ticket is required to check in online directly with the operating airline.
- Online Check-In Window: Typically opens 24 to 48 hours before departure; for flights to or from Canada, many airlines only open online check-in 24 hours before departure.
- Advantages: Saves time by allowing travellers to avoid long lines at the airport and enables advance seat selection or changes, which is convenient for busy Canadian travellers.
Note: Travellers must complete online check-in within the airline’s specified window to avoid complications.
Car Rentals
Car Rental Promo Code - 8% Off
New User Enjoy up to 8% Off
TRIPCAR8
How to Get a Train E-Ticket on Trip.com
Train E-Tickets are digital train tickets that have your travel information contained in a barcode. They are emailed directly to you as a PDF. You can store these tickets on your device.
Nearly all train companies have an E-ticketing option. When you book with Trip.com your E-Ticket will be a digital ticket in the Trip.com app.
Here’s a step-by-step guide to getting and using your train e-ticket:
Step 1: Book Your Train Ticket
- Go to the Trip.com website or open the Trip.com app.
- Select "Trains" from the navigation bar.
- Enter your desired route, date, and other necessary details, then click "Find Trains."
- Choose the train that suits your schedule and complete the booking process. Ensure you enter your full name and ID number as required.
Step 2: Receive Your E-Ticket
- After completing your booking, your E-ticket will be issued and sent to you via email as a PDF attachment. You can also view and download your e-ticket from the booking details page in the Trip.com app.
Step 3: Use Your E-Ticket
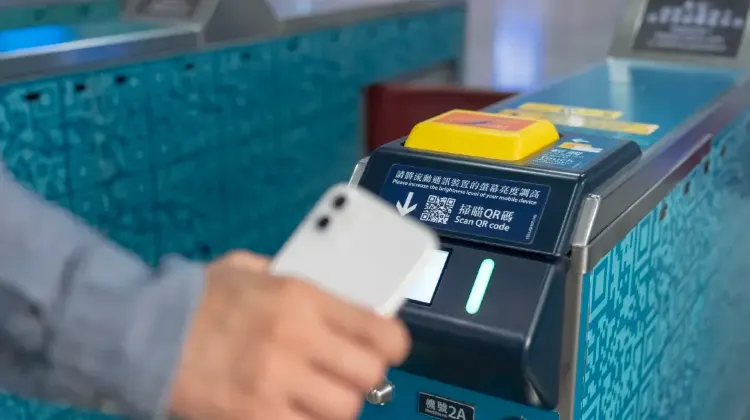
- On the day of travel, go to the train station and head to the waiting hall.
- When it's time to board, use the e-ticket barcode/QR code at the self-service ticket check machines. If your station does not have a scanner, present your E-ticket to a staff member for manual checking.
Step 4: Boarding and Arrival
- Scan your passport or valid ID at the ticket check gate to enter the station.
- Board your train using the details on your e-ticket, such as the train number, carriage, and seat.
- Upon arrival at your destination, exit the station by scanning your passport or valid ID again at the exit gate.
How to Manage Your Booking Through Your Trip.com E-Ticket
A Trip.com e-ticket serves as a gateway to managing bookings easily, as it links directly to the Trip.com booking record. From the E-ticket, travellers can request changes (e.g., date or time adjustments), cancel reservations, select seats, set meal preferences, or add extra services (e.g., baggage allowance). It is important to note that Trip.com acts as a travel agent, so all changes and cancellations are subject to the airline or operator’s rules and the ticket’s fare terms. Travelers can manage their bookings via the e-ticket as long as they comply with relevant rules.
Requesting Changes or Cancellations Using Your Trip.com Order
To make changes or cancel your booking:
- Log in to your Trip.com account and go to your e-ticket in the “My Trips” section.
- Tap “Change” or “Cancel” and select the relevant booking.
- Before finalizing, carefully review the refund and change policy for your ticket—refundable tickets may qualify for full or partial refunds, while non-refundable tickets may only be eligible for a refund of taxes or an airline voucher.
- Follow the prompts to submit your request and confirm.
The refund processing time depends on the airline and your payment method, and applicable cancellation fees may apply based on the fare rules.
Common Issues with Trip.com E-Tickets and How to Resolve Them
E-ticket not issued: First, check your email’s spam folder (confirmation emails sometimes end up there). If not, log in to Trip.com and check “My Trips”—if the e-ticket is still missing, it may be because the airline is still processing it (wait a short while and check again). If it remains missing, contact Trip.com customer support to verify your booking and retrieve your e-ticket.
Name errors: Contact Trip.com support immediately with your booking reference (PNR) and correct personal information. Small typos (e.g., missing middle initial) may be fixed for free, but larger errors (e.g., misspelled first or last name) may require a fee, depending on the airline’s policy. Prompt correction is crucial to avoid issues during check-in or boarding.
Difficulty accessing the E-ticket: First, ensure you’re logged in to the correct Trip.com account used for booking. If using the app, update it to the latest version. If the issue persists, try accessing the e-ticket via the Trip.com desktop website instead of the app. You can also retrieve your e-ticket directly on the airline’s website using your PNR.
Ticket type confusion: Check your e-ticket details to confirm the ticket type (e.g., economy, business) and fare rules (refundable vs. non-refundable). If the ticket type does not match your booking, contact Trip.com support to clarify—this may be due to a system delay or error, and support can verify the correct booking information with the airline.
[10% OFF] Global Hotel Recommendations
Bangkok
Singapore
Shanghai
Tokyo
Seoul
New York
See All Hotels


FAQs about Trip.com e-Ticket
-
How do I download my e-ticket on Trip.com?
-
How do I access my Trip.com airline booking reference and booking number?
-
How do I use Trip.com to check in online and get a boarding pass?
-
How do I check or manage my booking using the Trip.com booking number?
-
Can I check my Trip.com E-Ticket online without an account?
-
What should I do if my Trip.com tickets have not been issued?
Disclaimer: This article has been provided by an individual contributor or third party platform. If there is any discrepancy regarding the copyright, please contact us directly and we will delete the content immediately.
Trending Searches
-
Trip.com links
-
eSIM/SIM card
-
Air travel guide
- Trip.com Cancellation Policy
- Trip Coins
- Trip.com VIP Lounge Access
- Trip.com Flight Change
- Trip.com Seat Selection
- Trip.com Flight Cancellation Policy
- Trip.com E-Ticket
- Trip.com Phone Number
- Trip.com Change Passport
- Trip.com Check in
- Trip.com Reviews
- Trip.com Ticket Issued Status
- Trip.com Baggage Allowance
- Trip.com App
- Trip.com Booking Fee
- Trip.com Contact
- Trip.com Refund
- Trip.com Call Center
- Air Flexibility
- How to List your Property on Trip.com